本文主要介绍了微信小程序实现action-sheet弹出底部菜单功能,结合实例形式分析了action-sheet组件弹出菜单的使用技巧,包括元素遍历、事件响应及属性设置等操作方法,希望能帮助到大家。
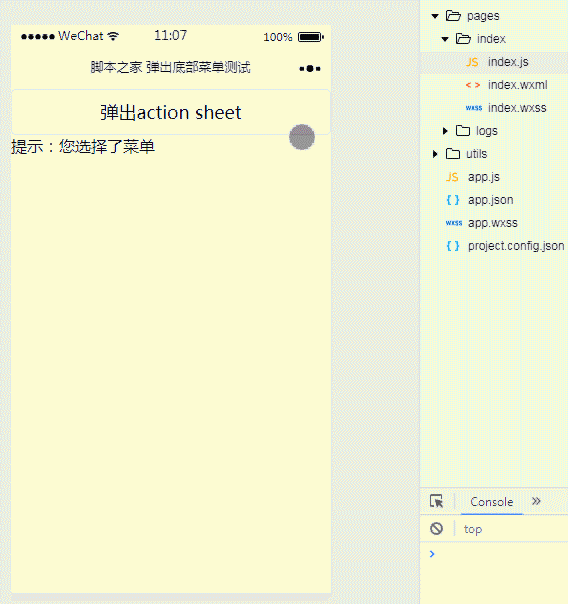
1、效果展示
2、关键代码
① index.wxml
1 2 3 4 5 6 7 8 9 10 | <button type="default" bindtap="actionSheetTap">弹出action sheet</button>
<action-sheet hidden="{{actionSheetHidden}}" bindchange="actionSheetbindchange">
<block wx:for-items="{{actionSheetItems}}" wx:key="{{txt}}">
<action-sheet-item bindtap="bind{{item.bindtap}}">{{item.txt}}</action-sheet-item>
</block>
<action-sheet-cancel class="cancel">取消</action-sheet-cancel>
</action-sheet>
<view>
提示:您选择了菜单{{menu}}
</view>
|
② index.js
1 2 3 4 5 6 7 8 9 10 11 12 13 14 15 16 17 18 19 20 21 22 23 24 25 26 27 28 29 30 31 32 33 34 35 36 37 38 39 40 | Page({
data:{
actionSheetHidden:true,
actionSheetItems:[
{bindtap:'Menu1',txt:'菜单1'},
{bindtap:'Menu2',txt:'菜单2'},
{bindtap:'Menu3',txt:'菜单3'}
],
menu:''
},
actionSheetTap:function(){
this.setData({
actionSheetHidden:!this.data.actionSheetHidden
})
},
actionSheetbindchange:function(){
this.setData({
actionSheetHidden:!this.data.actionSheetHidden
})
},
bindMenu1:function(){
this.setData({
menu:1,
actionSheetHidden:!this.data.actionSheetHidden
})
},
bindMenu2:function(){
this.setData({
menu:2,
actionSheetHidden:!this.data.actionSheetHidden
})
},
bindMenu3:function(){
this.setData({
menu:3,
actionSheetHidden:!this.data.actionSheetHidden
})
}
})
|
大家学会了吗?希望对大家有帮助。
版权声明:本文内容由网络用户投稿,版权归原作者所有,本站不拥有其著作权,亦不承担相应法律责任。如果您发现本站中有涉嫌抄袭或描述失实的内容,请联系我们jiasou666@gmail.com 处理,核实后本网站将在24小时内删除侵权内容。