本文主要和大家介绍微信小程序 swiper组件构建轮播图的实例的相关资料,如有疑问请留言或者到本站社区交流讨论,需要的朋友可以参考下,希望能帮助到大家。
微信小程序 swiper组件构建轮播图的实例
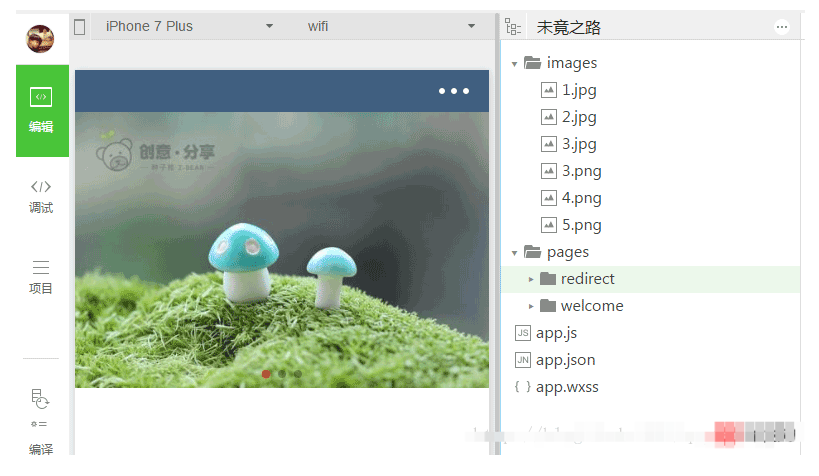
实现效果图:
wxml基础文件:
1 2 3 4 5 6 7 | <view class="classname">
<swiper indicator-dots="true" interval="1000" autoplay="true" indicator-active-color="red">
<swiper-item><image src="/images/1.jpg"></image></swiper-item>
<swiper-item><image src="/images/2.jpg"></image></swiper-item>
<swiper-item><image src="/images/3.jpg"></image></swiper-item>
</swiper>
</view>
|
1 2 3 4 5 6 7 8 | swiper-item仅可放置在组件中,宽高自动设置为100%。
参数设置:
autoplay 自动播放导致swiper变化;
touch 用户划动引起swiper变化;
indicator-dots true是否显示面板指示点圆圈;
interval 自动切换时间间隔;
duration 滑动动画时长;
更多设置可以看官方文档组件!
|
wxss样式文件
1 2 3 4 5 6 7 8 | swiper{
width:100%;
height:500rpx;
}
swiper image{
width:100%;
height:500rpx;
}
|
app.json文件入口
1 2 3 4 5 6 7 8 | {
"pages": [
"pages/redirect/redirect"
],
"window": {
"navigationBarBackgroundColor": "#405f80"
}
}
|
版权声明:本文内容由网络用户投稿,版权归原作者所有,本站不拥有其著作权,亦不承担相应法律责任。如果您发现本站中有涉嫌抄袭或描述失实的内容,请联系我们jiasou666@gmail.com 处理,核实后本网站将在24小时内删除侵权内容。