这篇文章主要为大家详细介绍了微信小程序实战之顶部导航栏的相关代码,具有一定的参考价值,感兴趣的小伙伴们可以参考一下
本文实例为大家分享了微信小程序顶部导航栏的具体代码,供大家参考,具体内容如下
需求:顶部导航栏
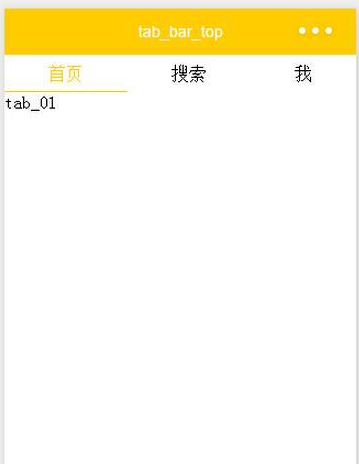
效果图:
wxml:
1 2 3 4 5 6 7 8 9 10 11 12 13 14 15 16 17 18 19 | <view class="navbar">
<text wx:for="{{navbar}}" data-idx="{{index}}" class="item {{currentTab==index ? 'active' : ''}}" wx:key="unique" bindtap="navbarTap">{{item}}</text>
</view>
<view hidden="{{currentTab!==0}}">
tab_01
</view>
<view hidden="{{currentTab!==1}}">
tab_02
</view>
<view hidden="{{currentTab!==2}}">
tab_03
</view>
|
wxss:
1 2 3 4 5 6 7 8 9 10 11 12 13 14 15 16 17 18 19 20 21 22 23 24 25 26 27 28 29 | page{
display: flex;
flex-direction: column;
height: 100%;
}
.navbar{
flex: none;
display: flex;
background: #fff;
}
.navbar .item{
position: relative;
flex: auto;
text-align: center;
line-height: 80rpx;
}
.navbar .item.active{
color: #FFCC00;
}
.navbar .item.active:after{
content: "";
display: block;
position: absolute;
bottom: 0;
left: 0;
right: 0;
height: 4rpx;
background: #FFCC00;
}
|
js:
1 2 3 4 5 6 7 8 9 10 11 12 | var app = getApp()
Page({
data: {
navbar: ['首页', '搜索', '我'],
currentTab: 0
},
navbarTap: function(e){
this.setData({
currentTab: e.currentTarget.dataset.idx
})
}
})
|
运行:
版权声明:本文内容由网络用户投稿,版权归原作者所有,本站不拥有其著作权,亦不承担相应法律责任。如果您发现本站中有涉嫌抄袭或描述失实的内容,请联系我们jiasou666@gmail.com 处理,核实后本网站将在24小时内删除侵权内容。