
# App Store Submission Guide
# 1. iOS App Submission Process for Apple
# 1. Log in to Apple Developer Center
Open the Apple Developer Center website (opens new window) in a browser, click the account icon in the upper right corner (in English) to enter the login interface. Enter your developer account username and password on the login screen for verification. After successful verification, you will enter the Apple Developer Center as shown below.
# 2. Fill in App Information in App Store Connect
# 2.1 Log in to App Store Connect
Click on App Store Connect to enter,
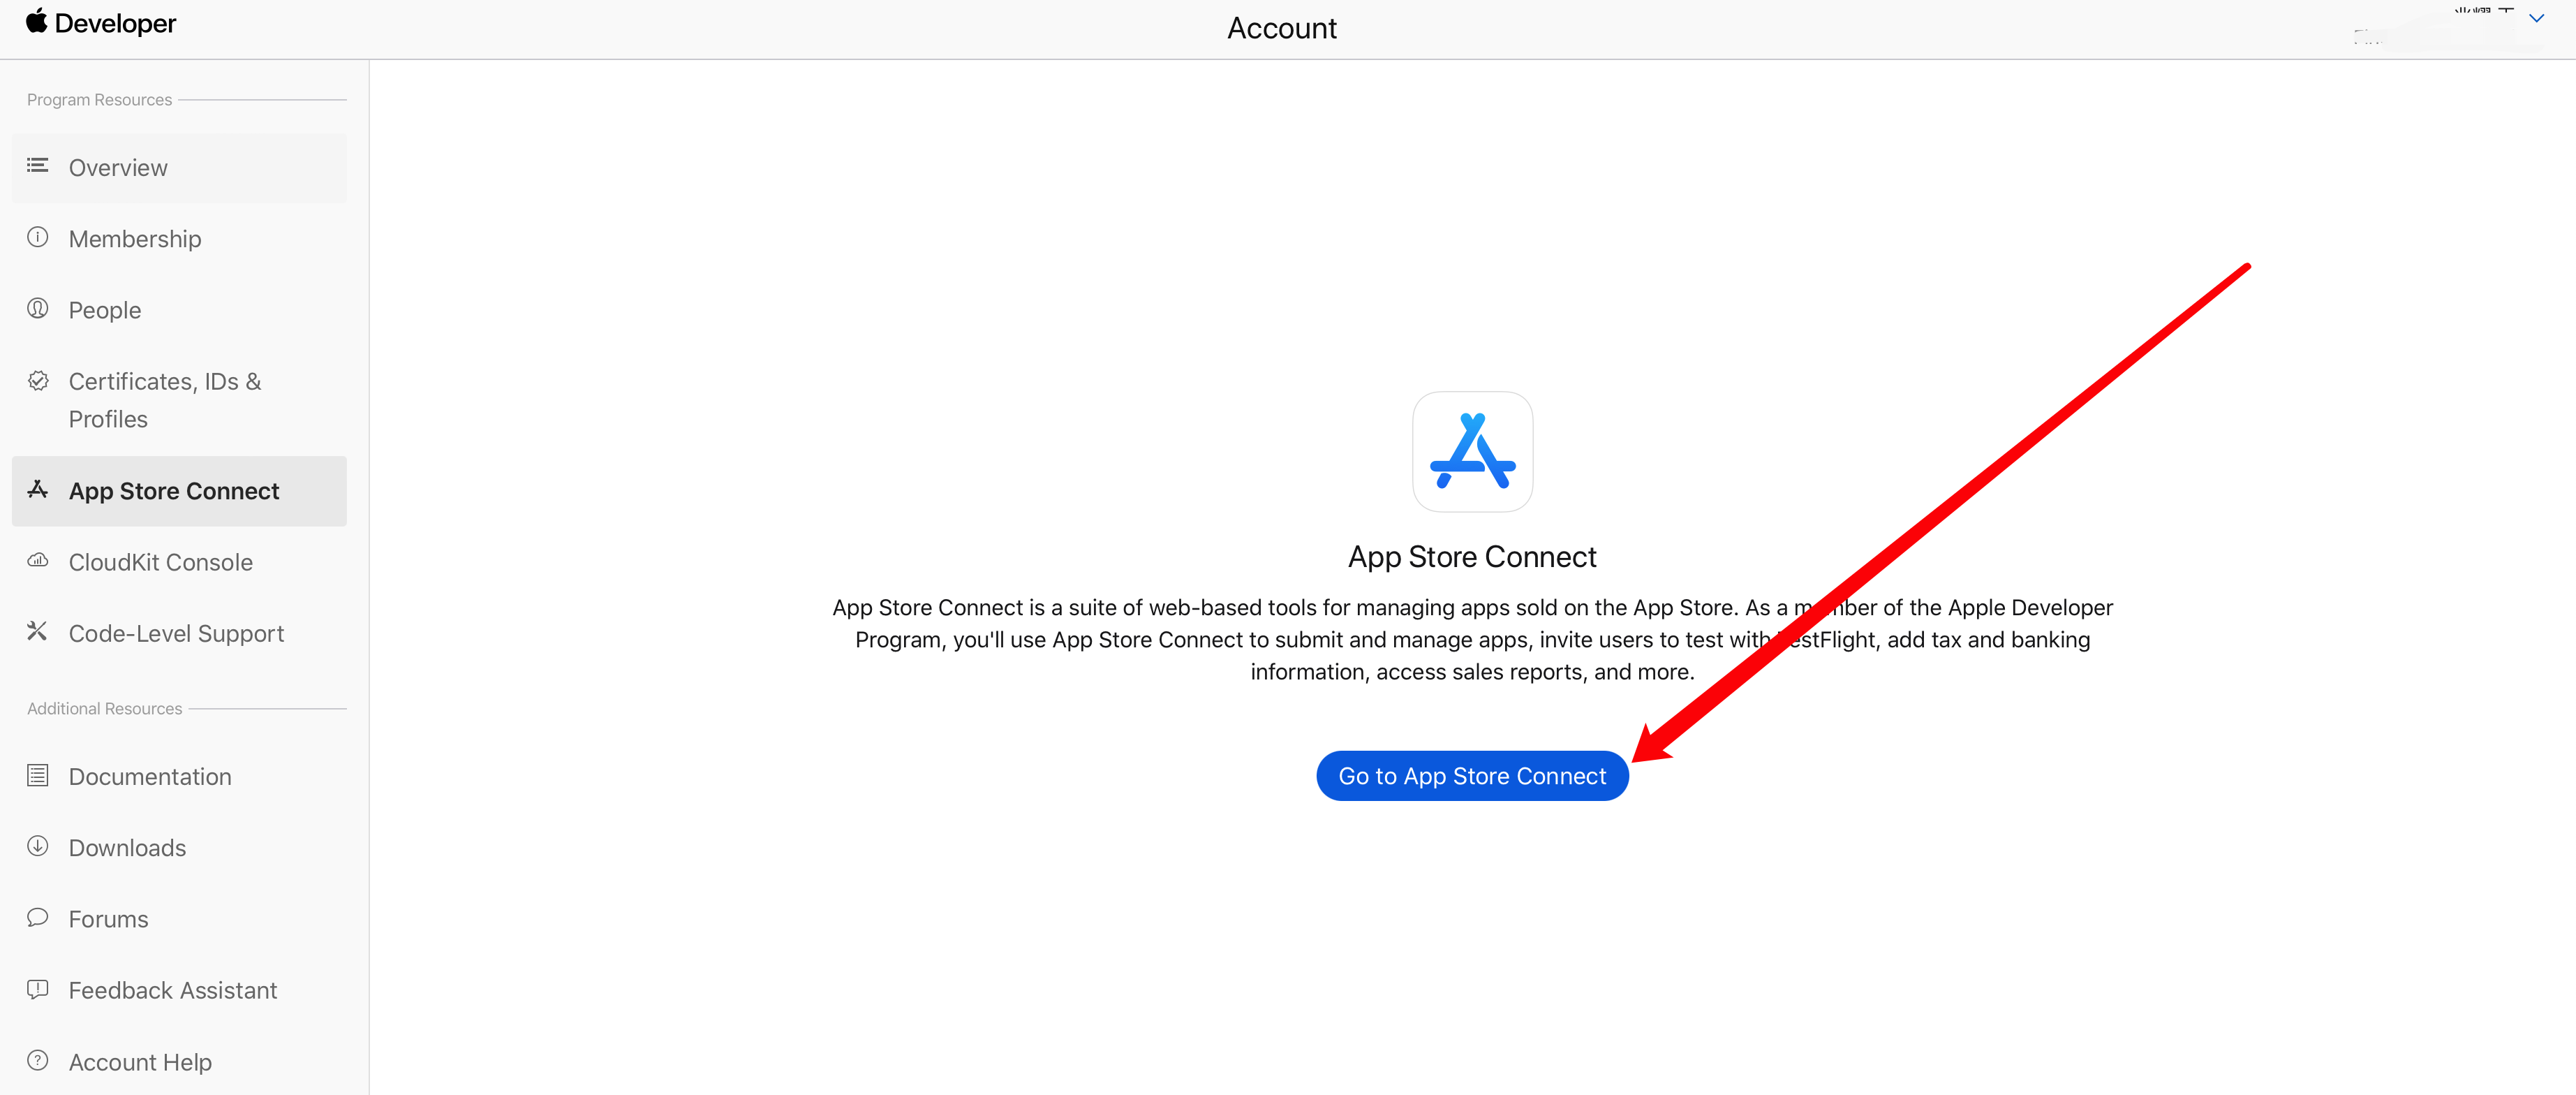
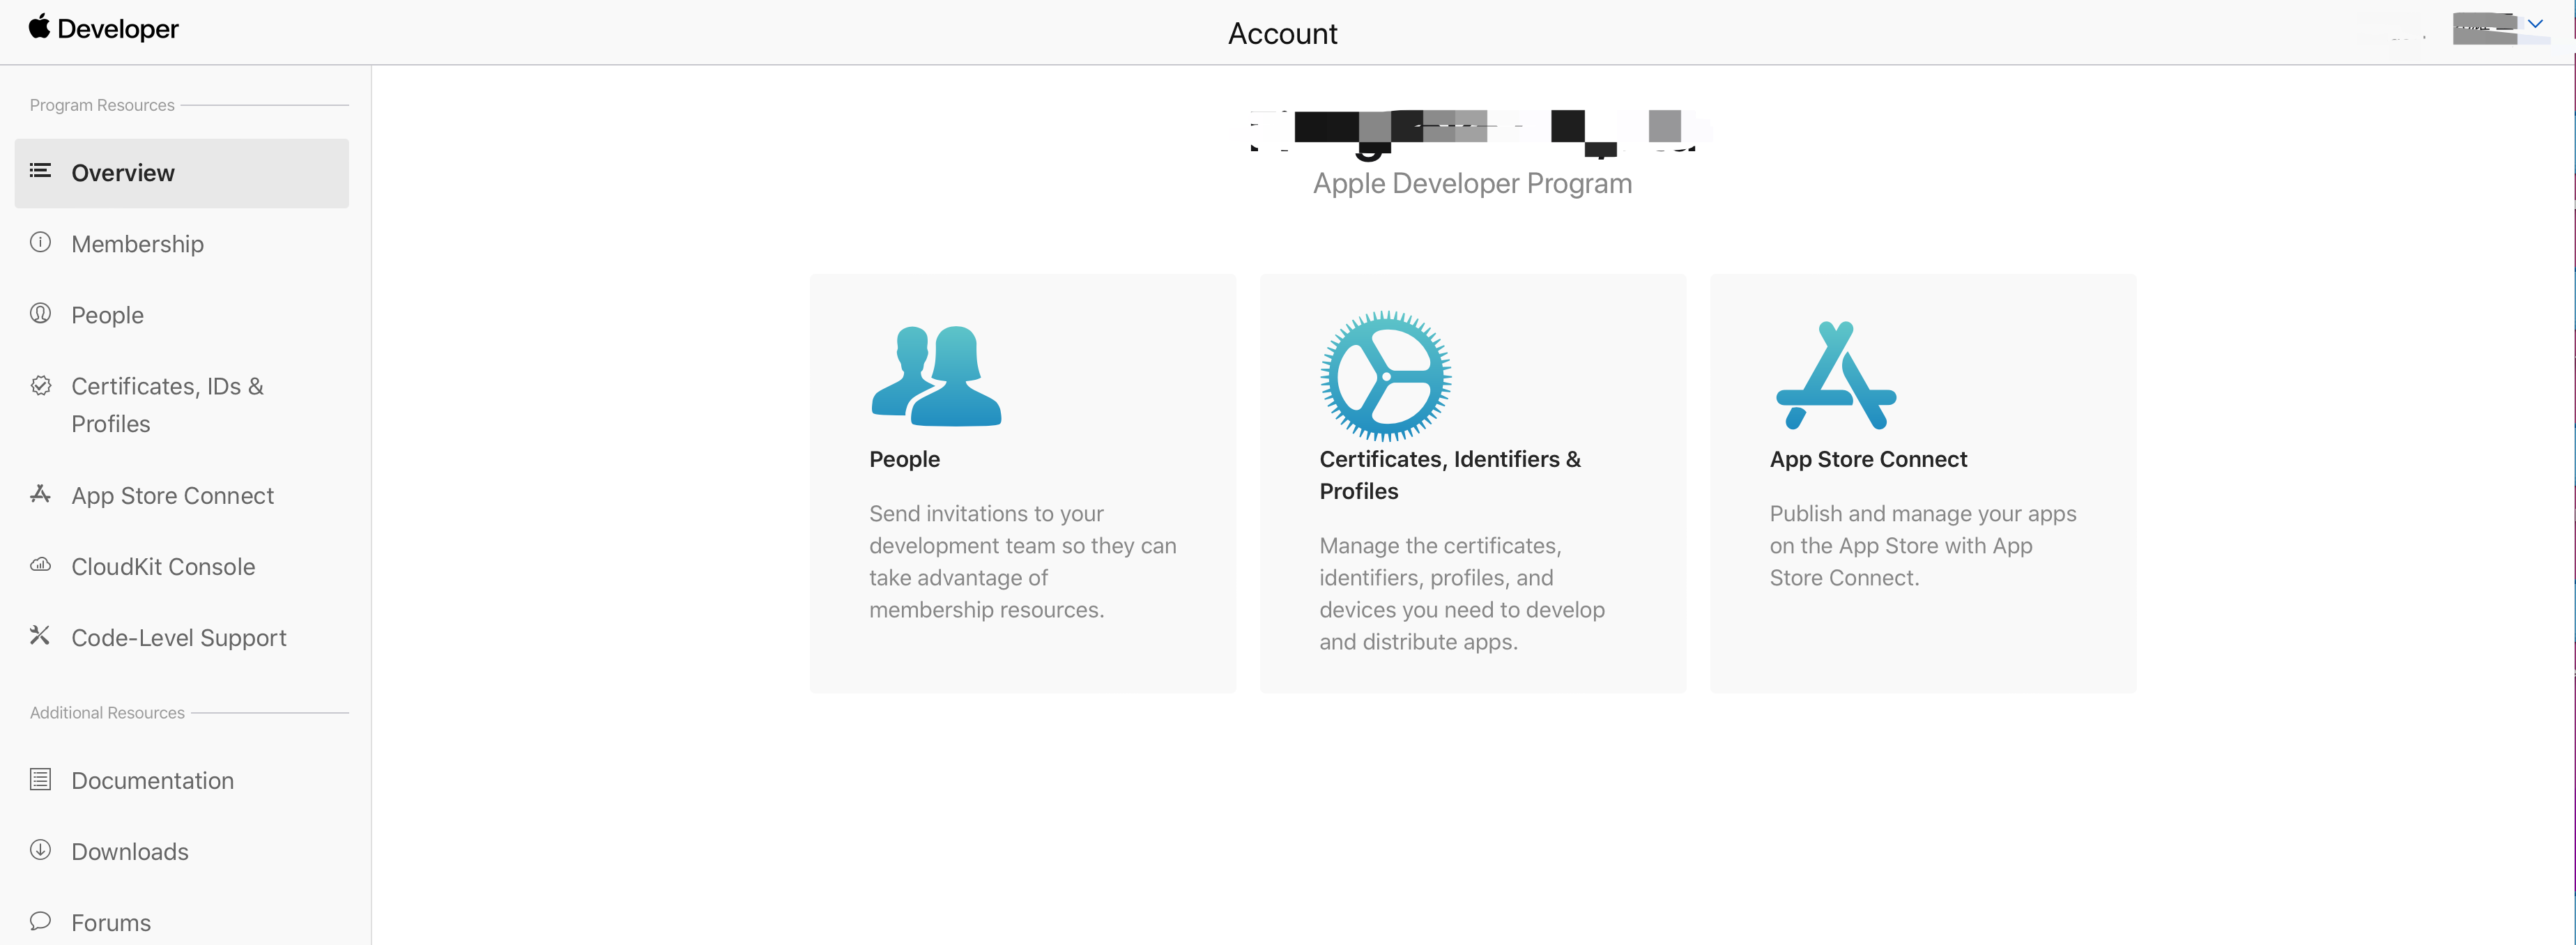 Continue by clicking "Go to App Store Connect" to proceed
 You will enter the main interface of App Store Connect as follows
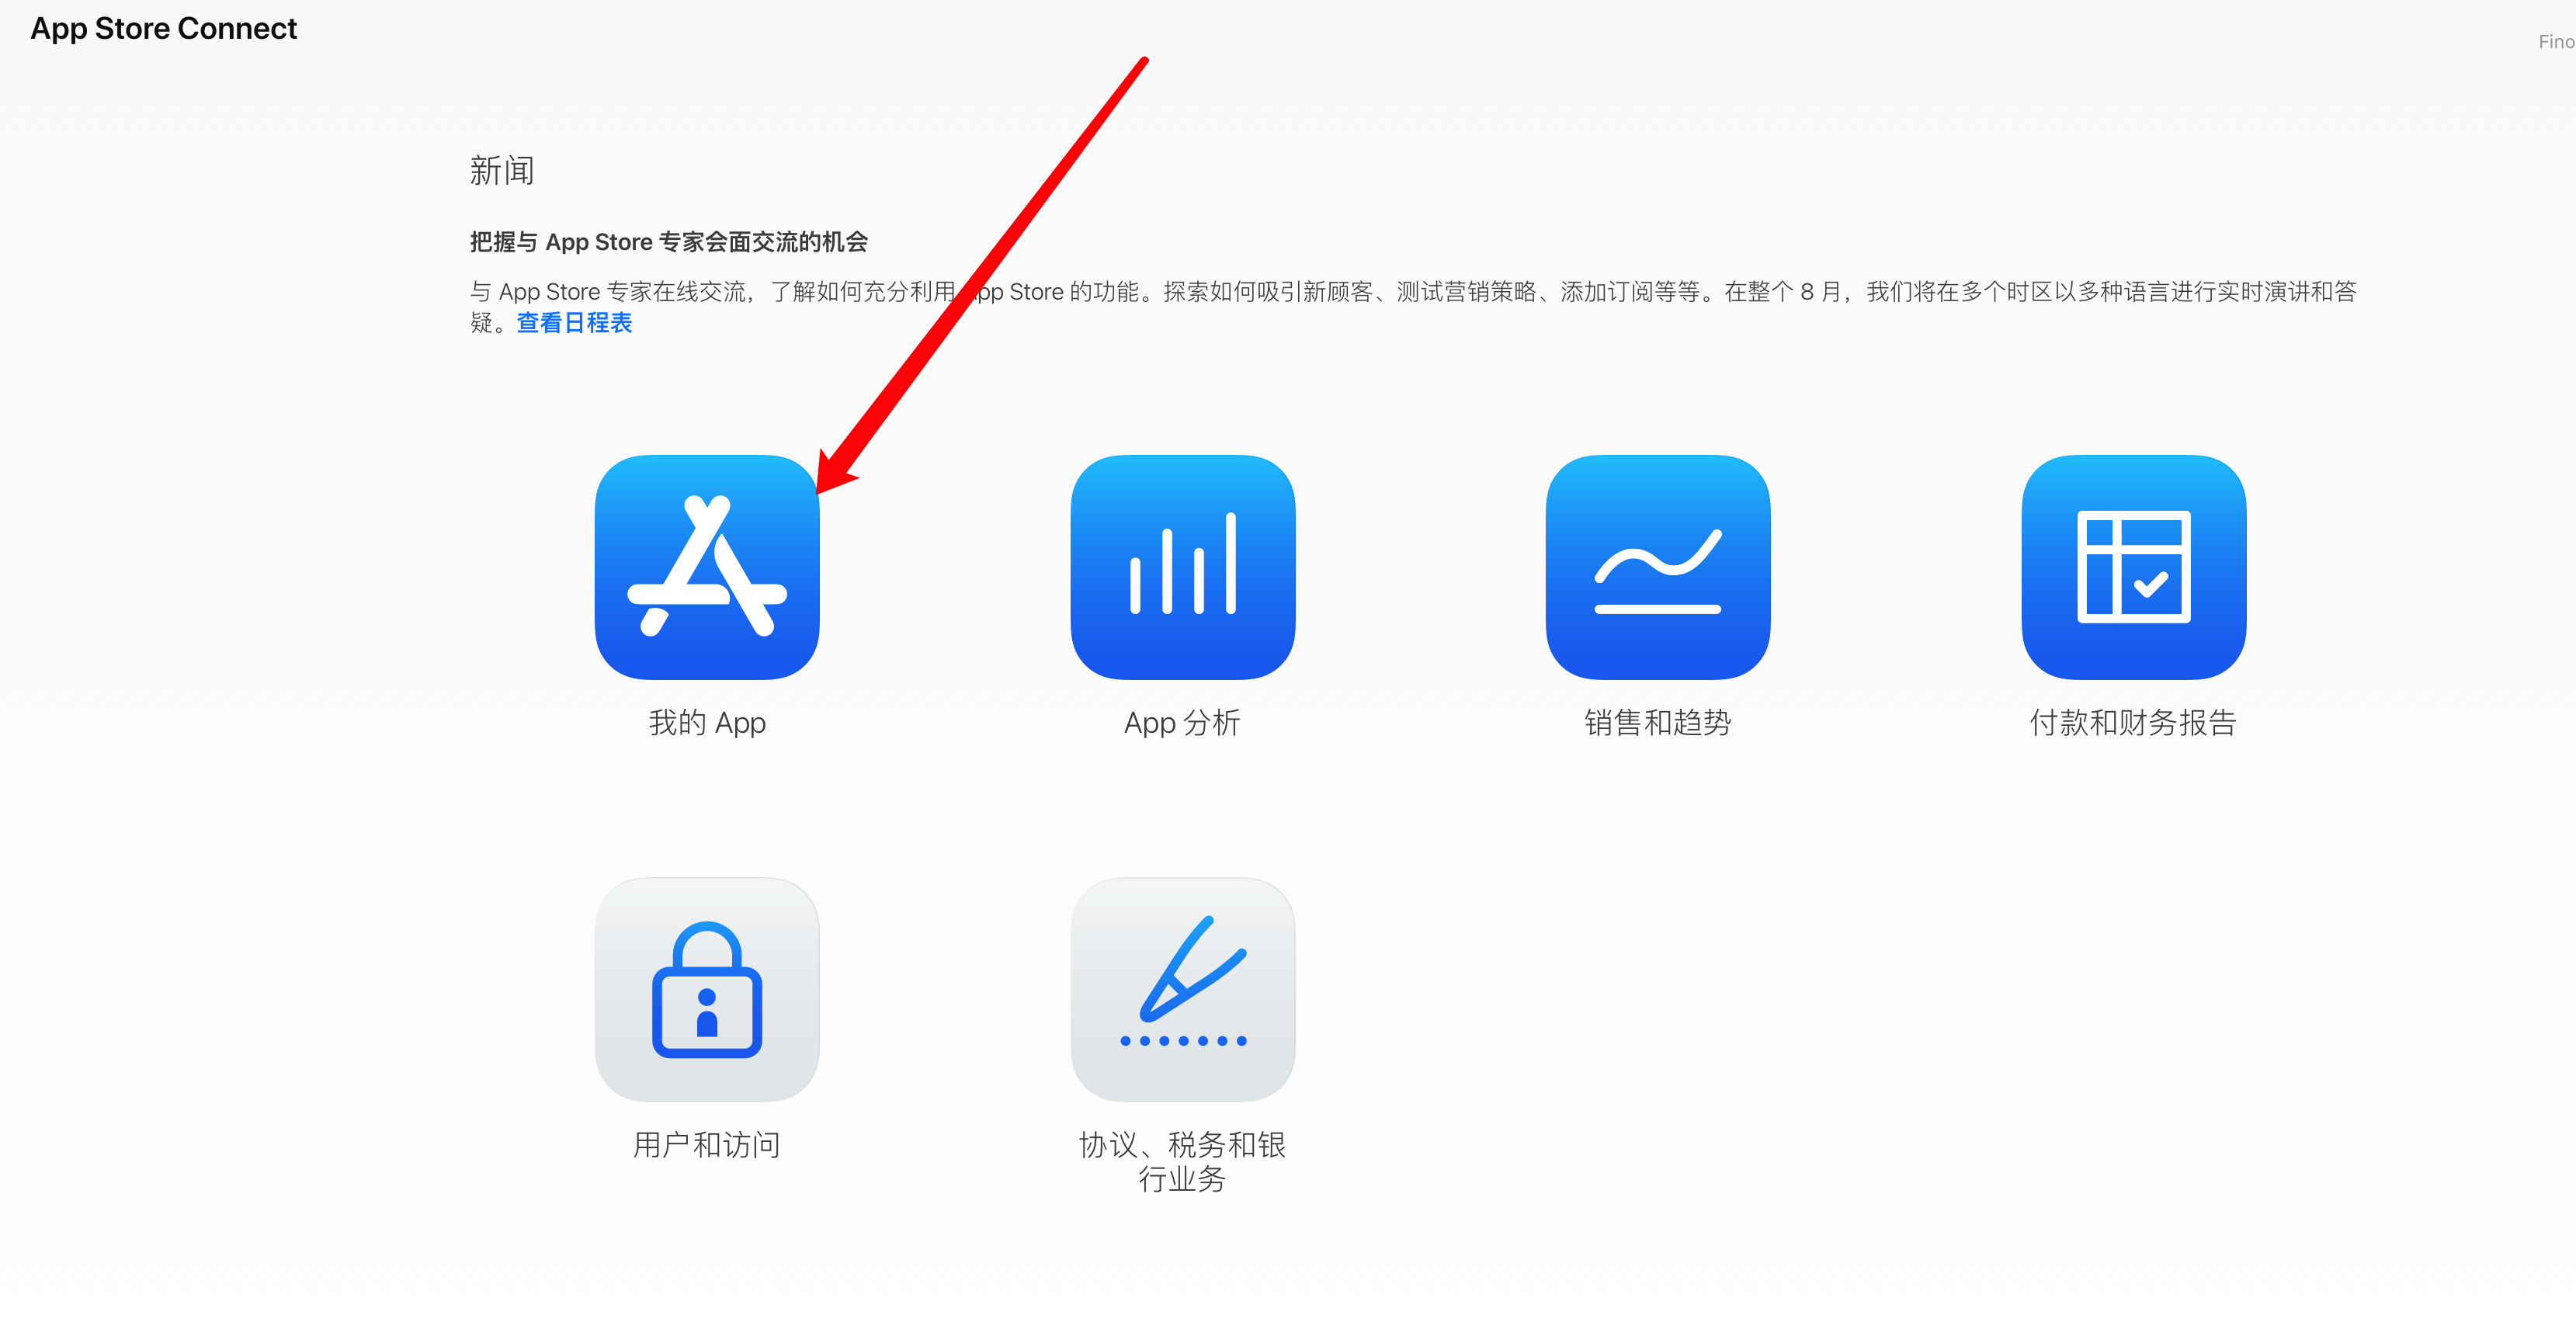
# 2.2 Create a New App
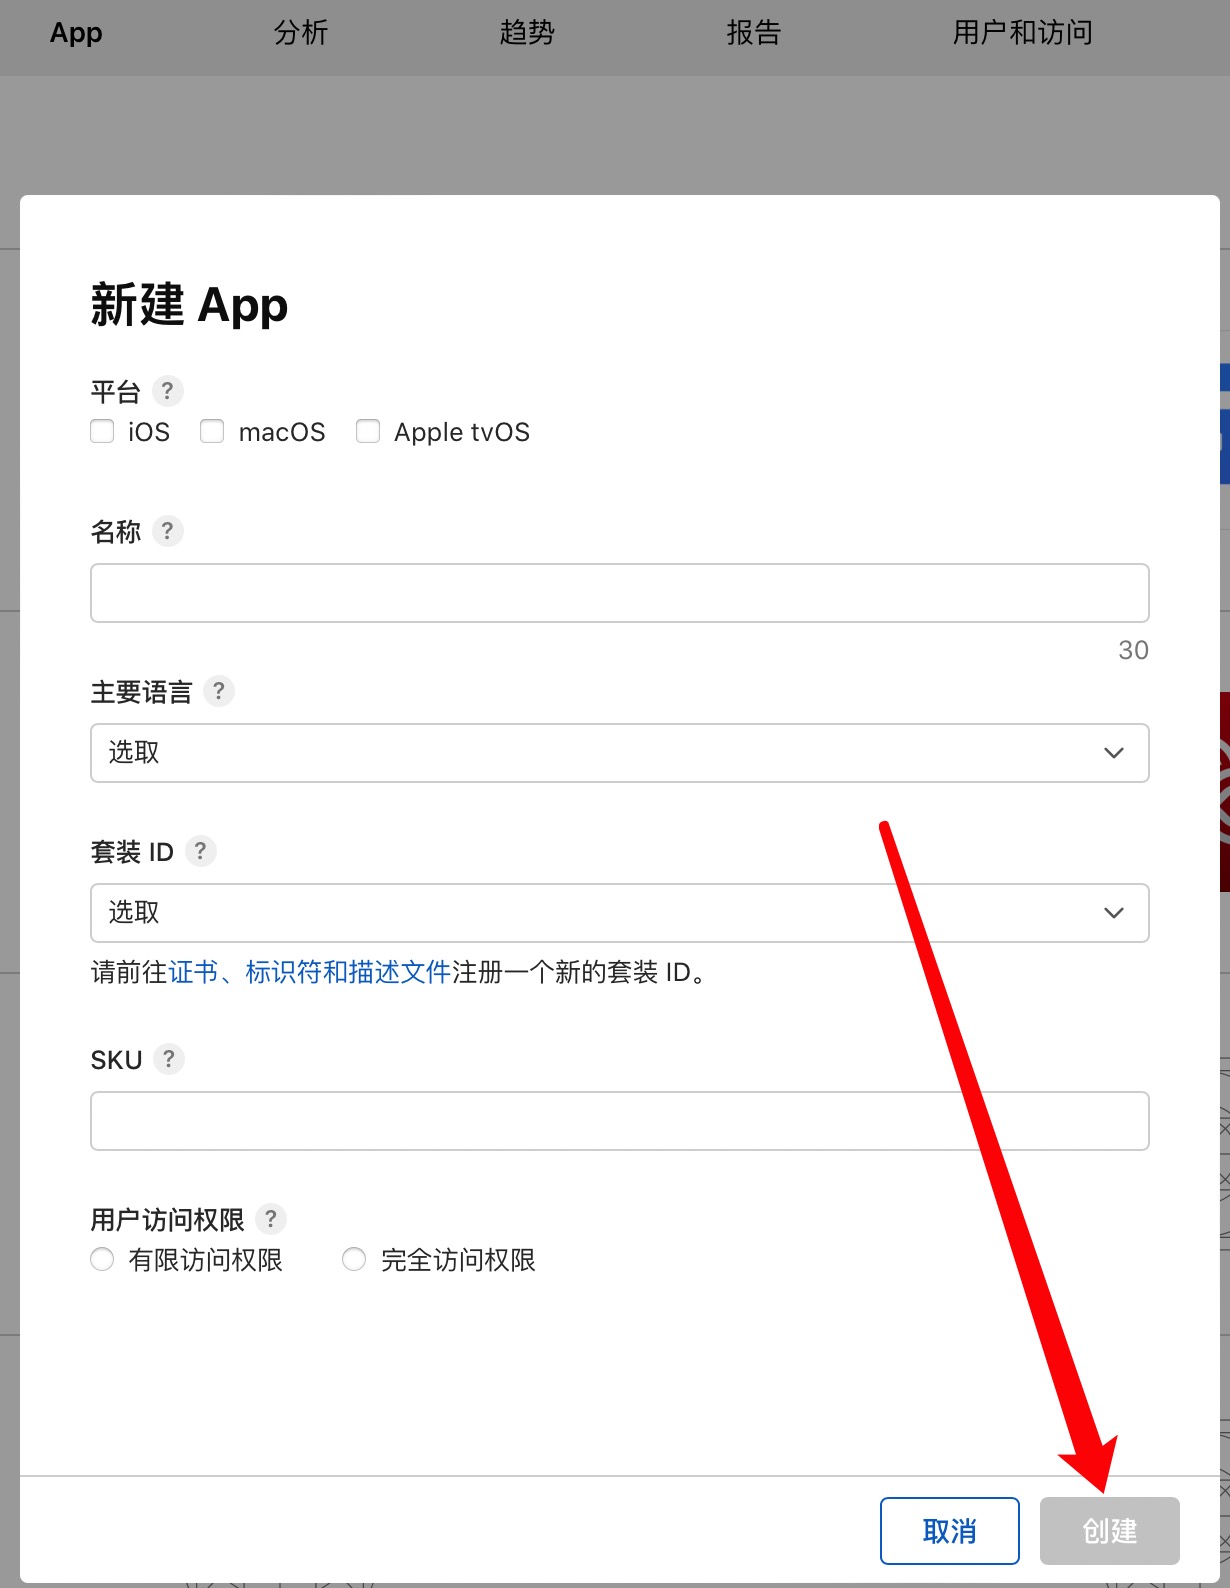
Click the ➕ sign in the upper right corner of the above image, then click "New App". Configure the following information to create a new App, as shown below:
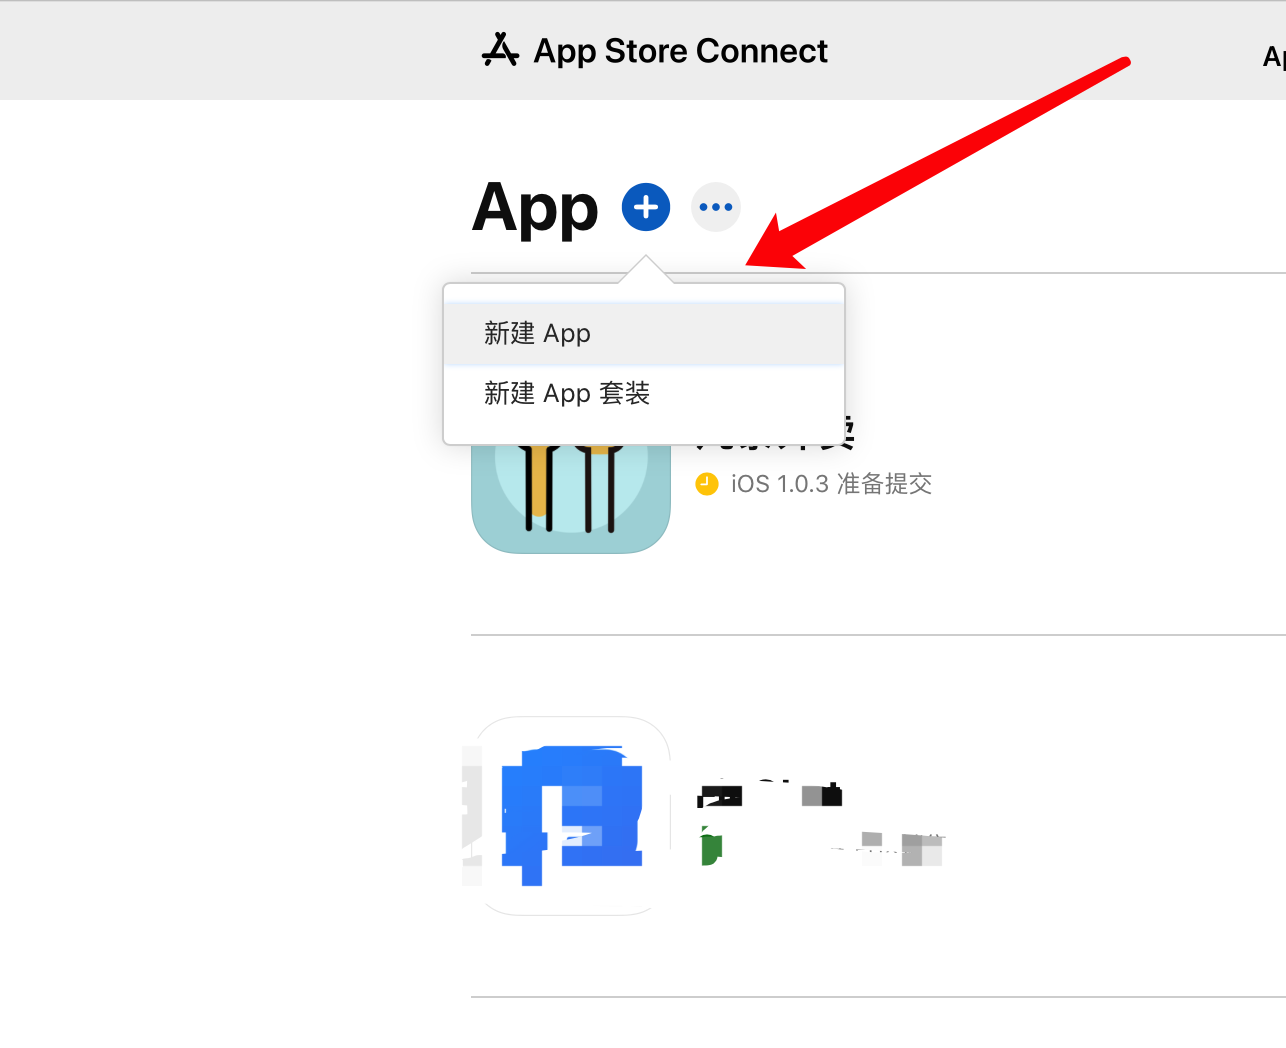 After filling in the information, the App is successfully created!
# 2.3 Fill in Basic App Information
After creating the new App, you need to fill in the basic information of the App, such as the App name, language, category, etc. Fill in according to the prompts.
# 2.4 Fill in App Price and Availability
After filling in the basic App information, proceed to fill in the App price and availability. Generally, the App's selling price is set to free, and the available regions are selected as all countries and regions.
# 2.5 Fill in App Version Information
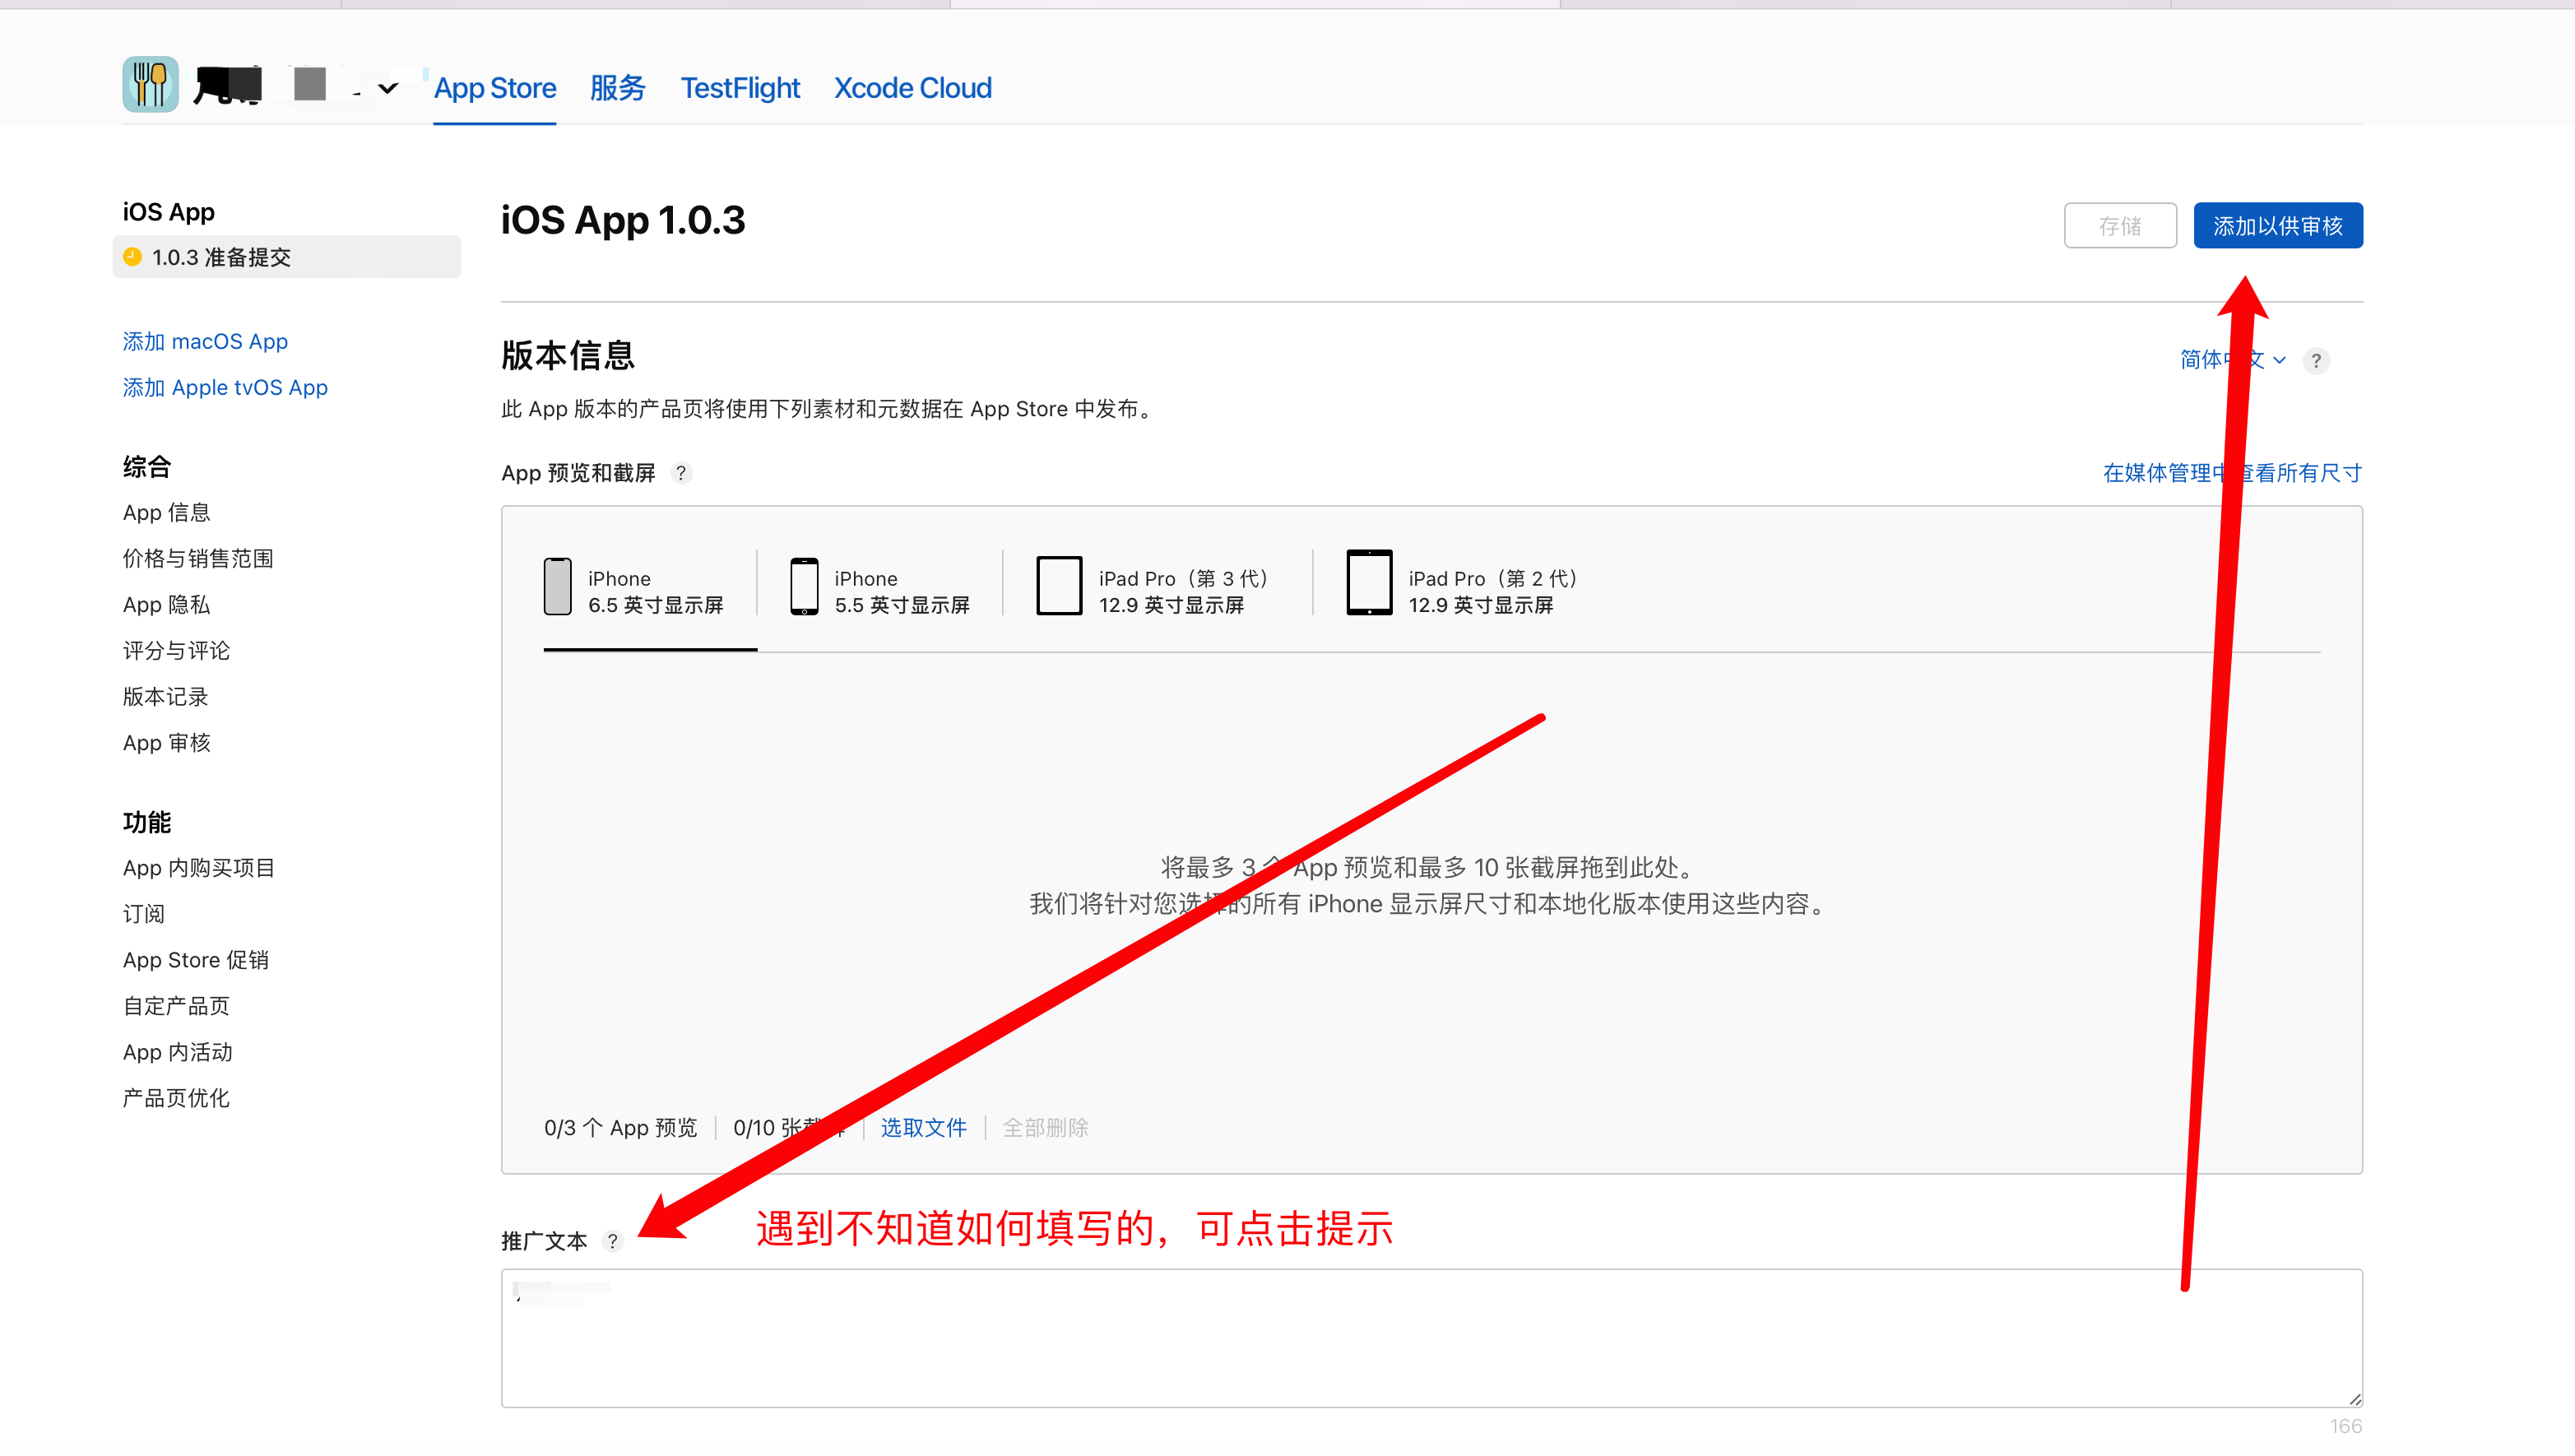
First, add App previews and screenshots by dragging the corresponding images to the designated area. Then, fill in the promotional text, description, and keywords for the App according to the prompts.
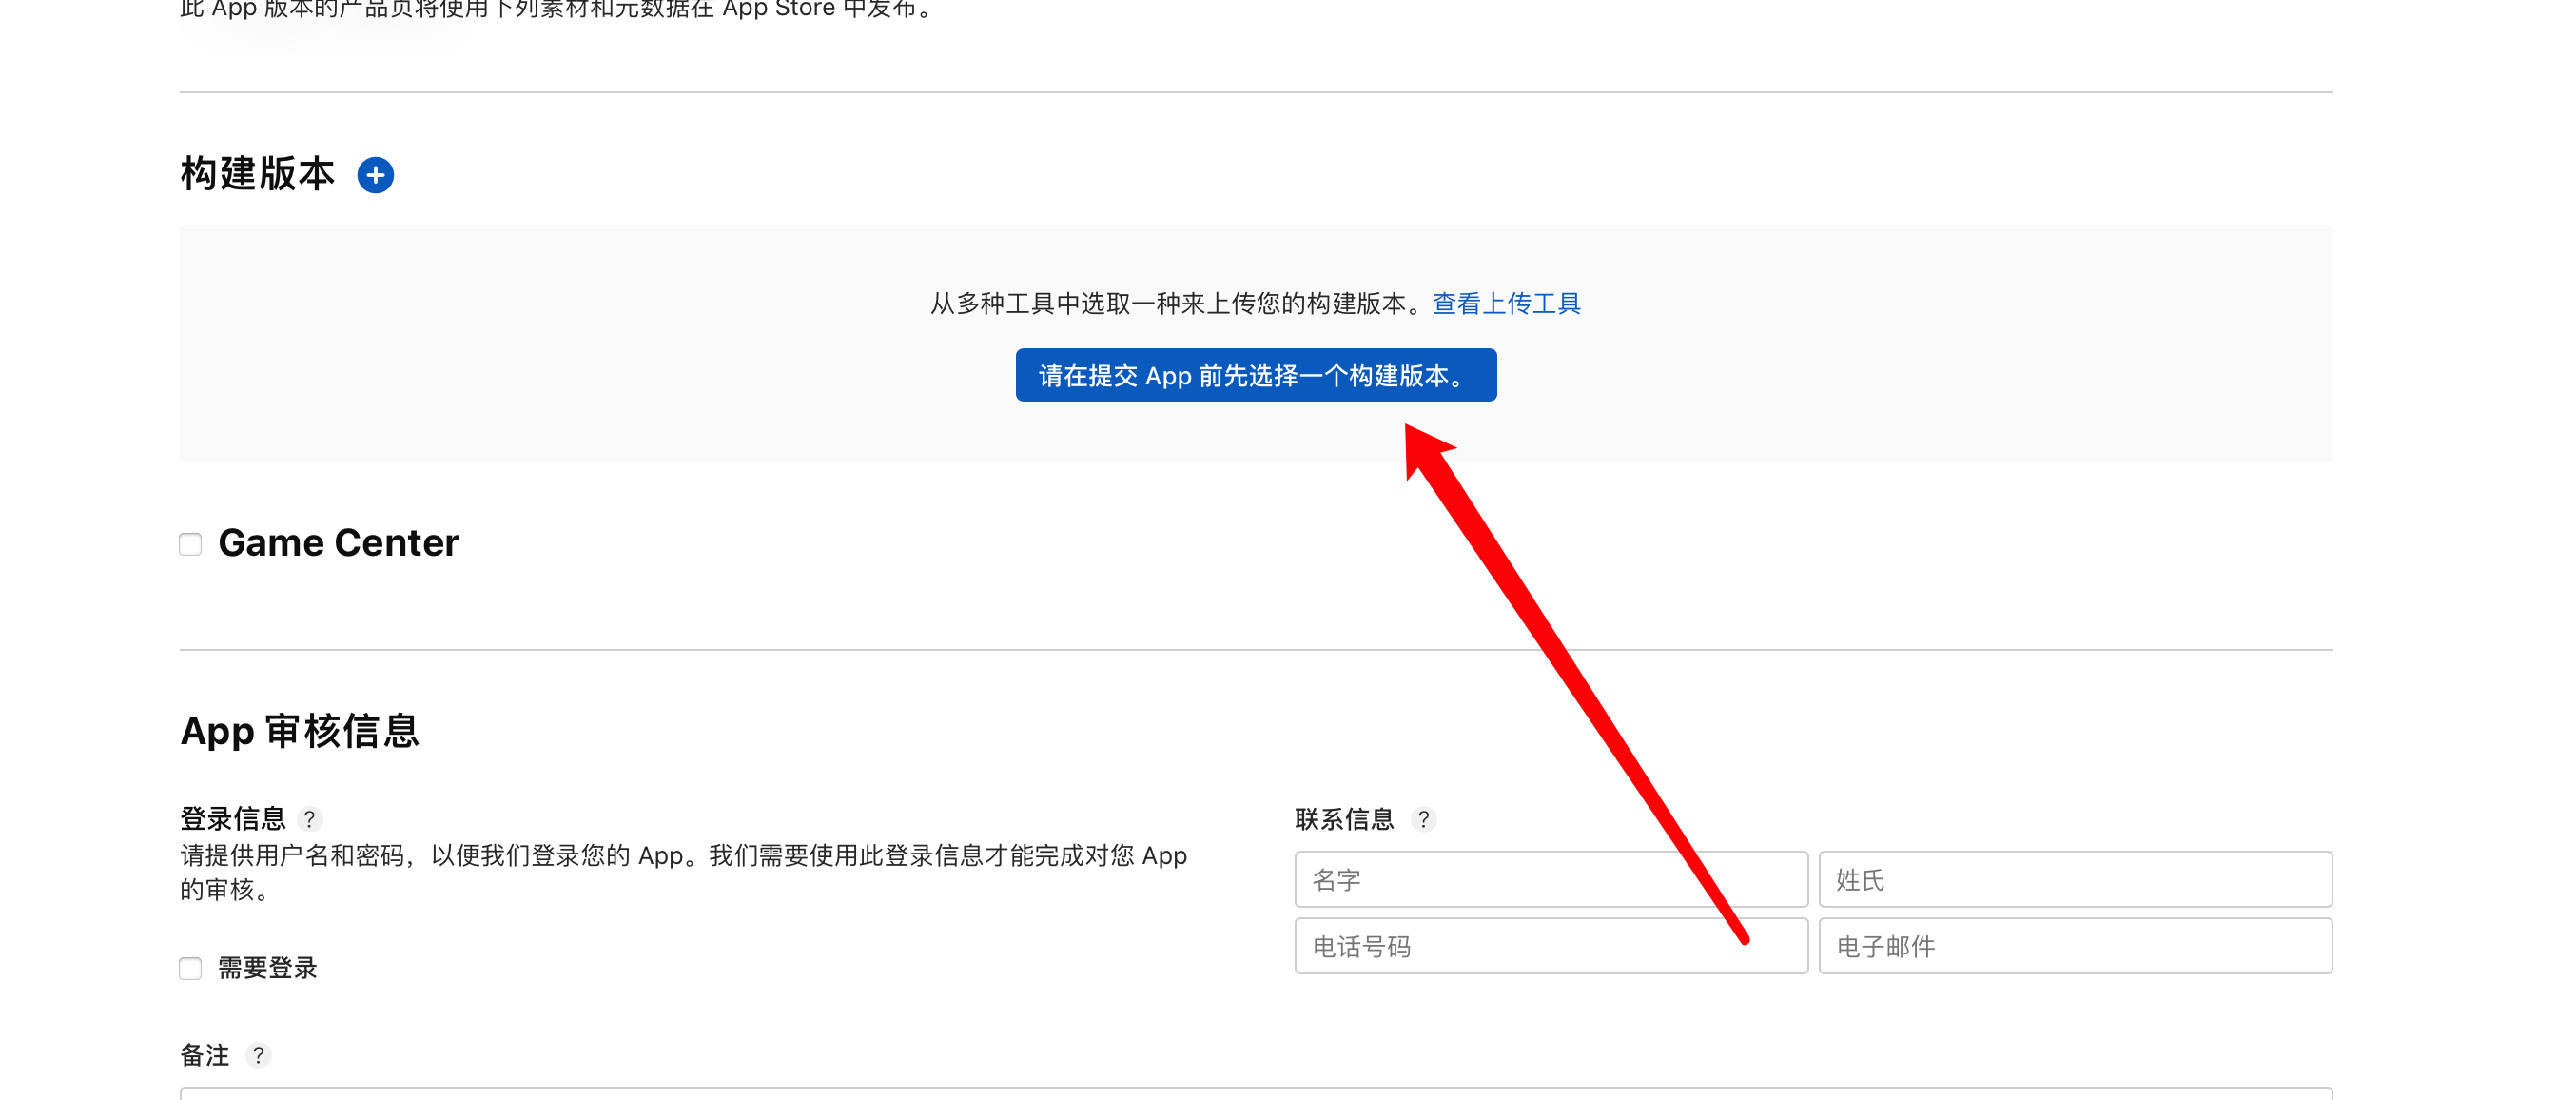
After completing the promotional text and keywords, the next step is to select the App package to upload. Upload the packaged App file (ipa) created earlier using Application Loader. After a successful upload, a ➕ will appear next to "Build Version" as shown below. Click it to select the corresponding version package.
 Next, fill in the general App information, such as the App Store icon, version, copyright, etc., according to the prompts.
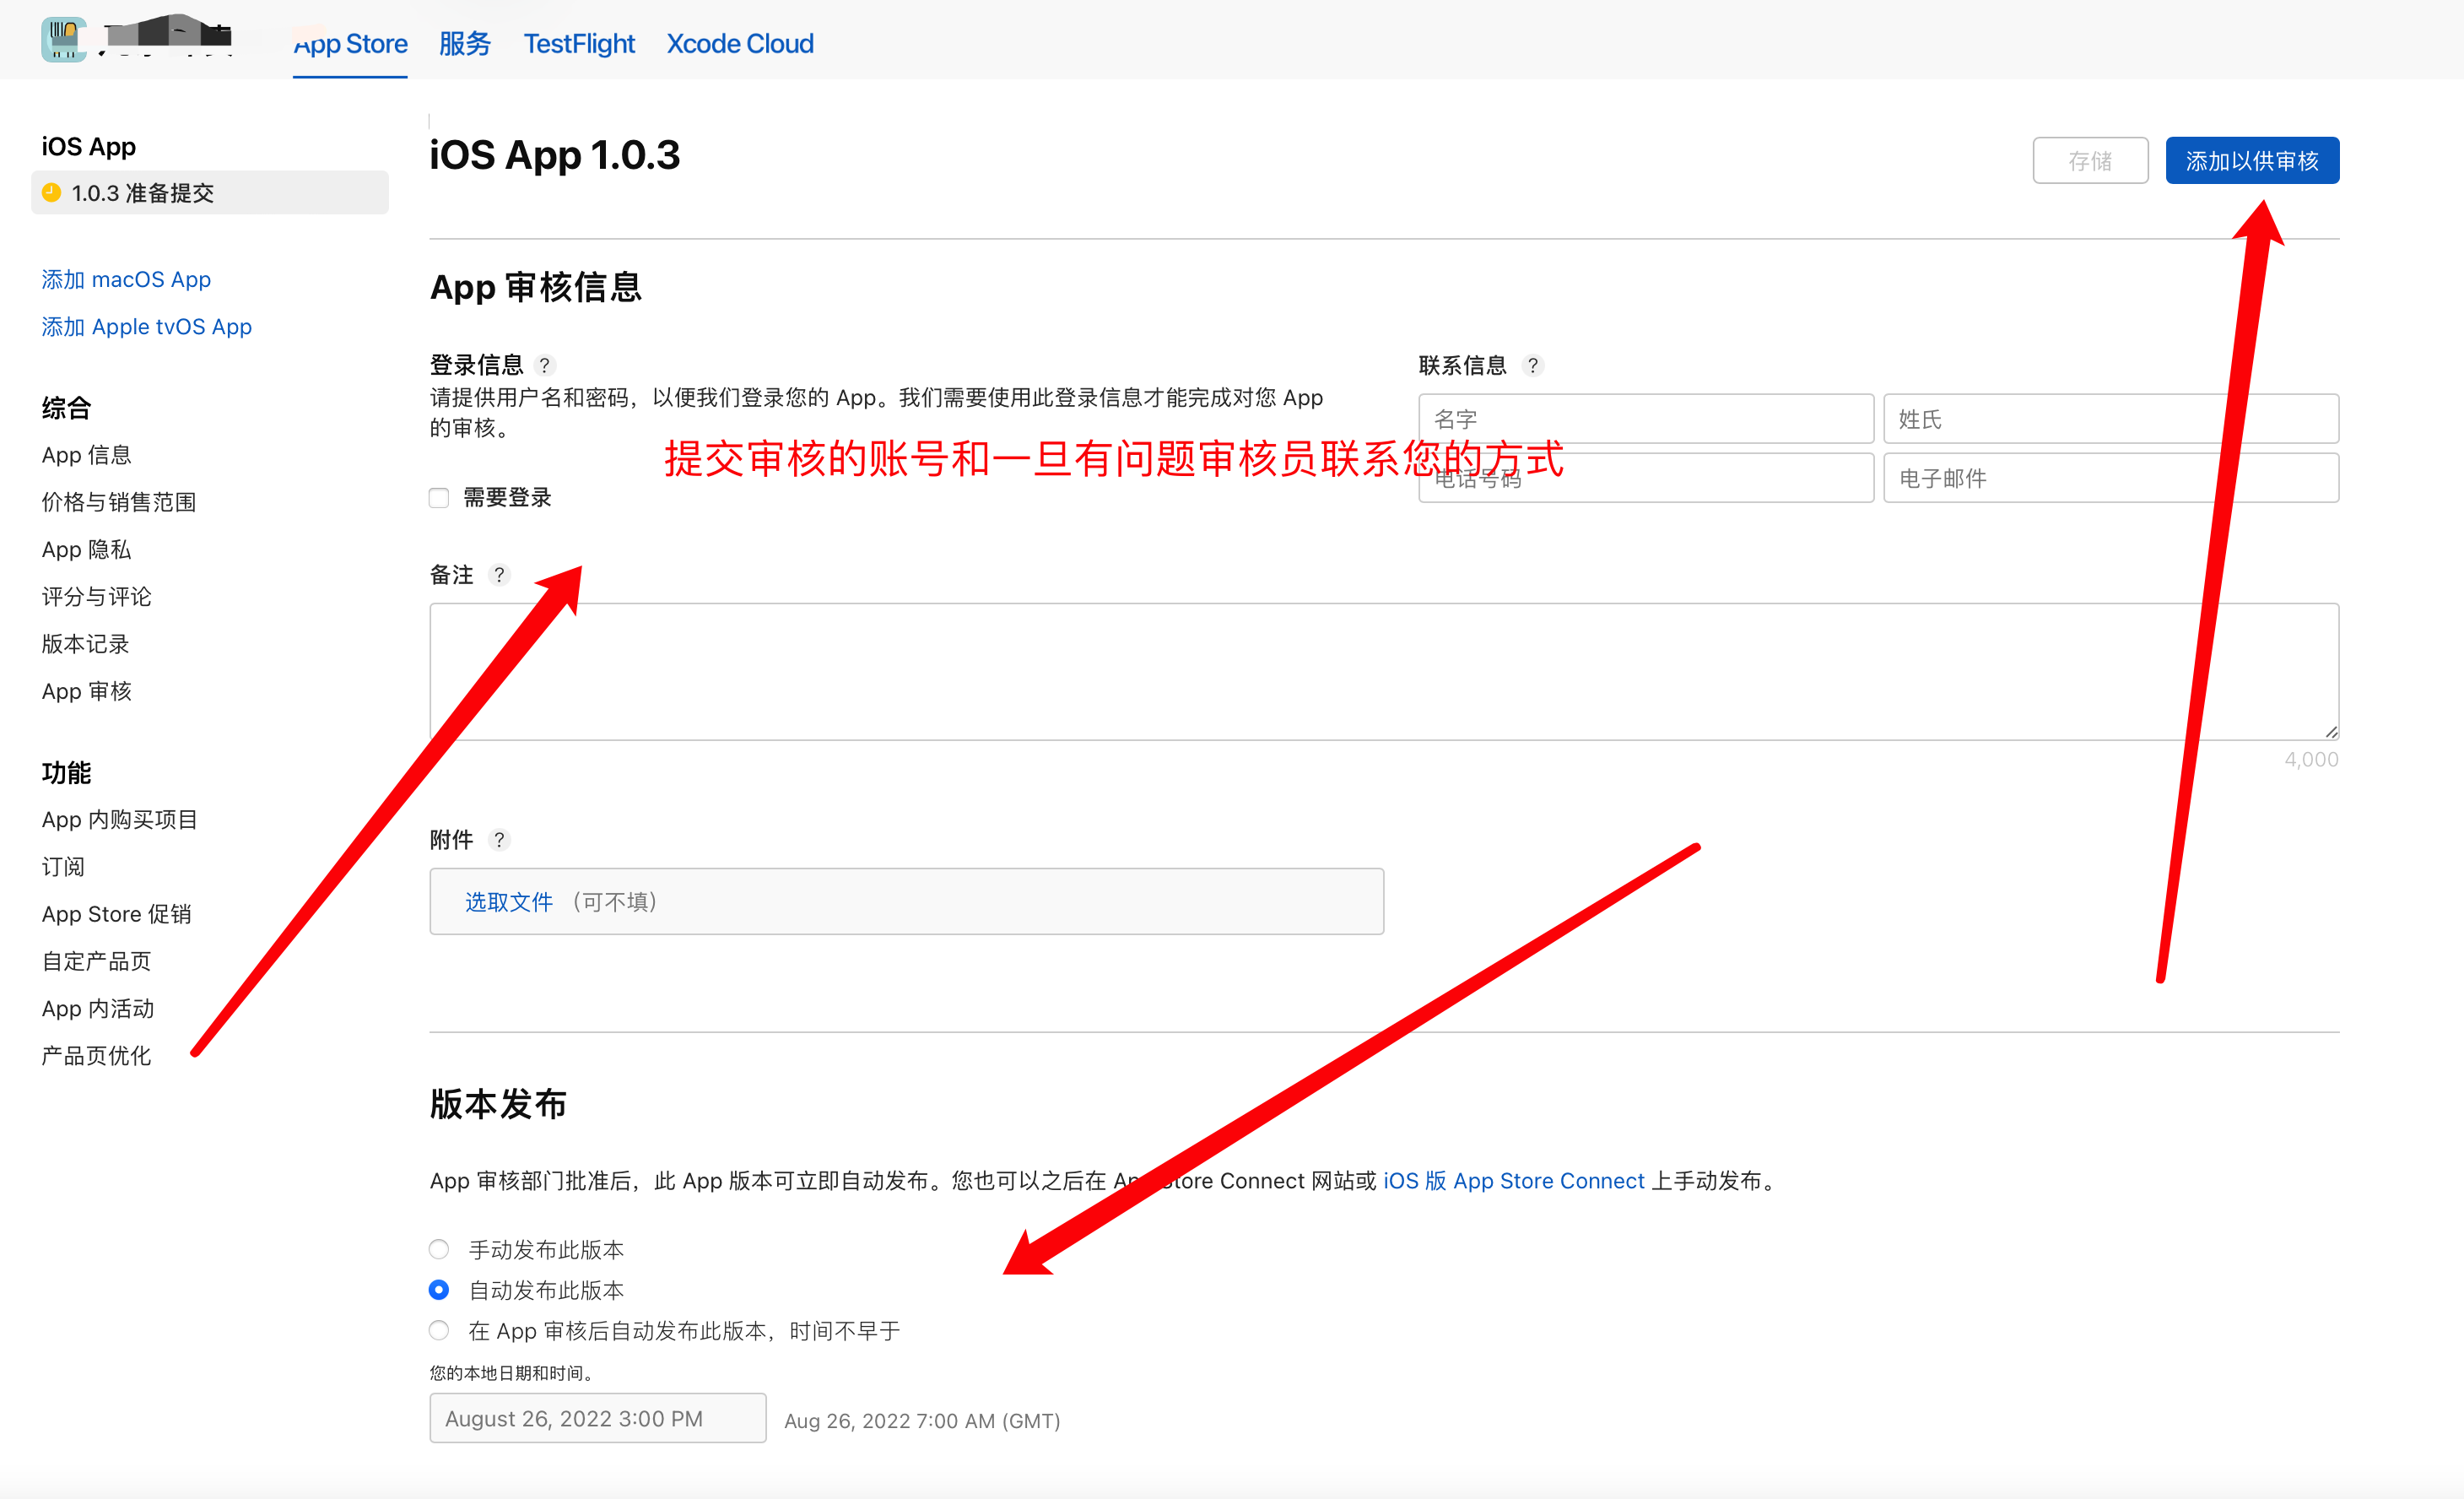
Finally, fill in the App Review Information, including demo account credentials (if needed), contact information, etc., as shown below. After completing this, click the "Save" button in the upper right corner to save the information.
# 3 Upload the ipa Package to App Store Connect
- The Transporter visual tool can be installed and run on macOS, Windows, and Linux operating systems. After downloading and installing, log in with your developer account to upload the ipa package. Specific usage instructions are omitted here.
- After the package is uploaded, wait 15 to 30 minutes for it to appear in App Store Connect. If there are code issues with the package, you will receive an email notification during this process. A successful upload will also trigger a confirmation email.
# 4 Submit for Review
- After the ipa package is successfully uploaded, you can select the recently uploaded ipa package in the "Build Version" section within App Store Connect, then save the selection, as shown in the image below.
- Click "Add for Review" to submit the App for review. The next step is to wait for the review process. You will receive email notifications if any issues arise during the review, and also upon successful approval.
- If you selected manual release, you need to manually click the "Release" button in App Store Connect after the review is approved. If you selected automatic release, no further action is required.